


© AWDesigns Tutorials - December 2012
This tutorial is my own creation and any resemblance to others is purely
coincidental. This tutorial was written for those with a working
knowledge of PSP. Please do not copy or claim as your own.
Materials Needed:
PSP X or any version should work.
PhotoEffex - Scanlines
Eye Candy 4000 – Gradient Glow on credits and text
Font Used -Christmas on Crack
Snowflake tube optional.
Here is mine I made - click and right to save to your computer.

A tube of your choice. I used the awesome artwork by Melissa Dawn which you can purchase at Creative Design Outlet. You must have a license to use this art.
Open new image 600 x 250 transparent. Flood fill with #710000 of a dark color from your tube.
Go to Effects - Image Effect - Offset with these settings

Be sure to choose another color from your tube for the Offset Color. I used #e5d265.
Copy & Paste your tube as a new layer and position to the right side.
Now we are going to make a pattern with what we have so far.
First let's save what we've done - as a pspimage name it KittyPattern.
Now we'll set up our palette for the next part - in your palette change the foreground to pattern and choose from the drop down list the KittyPattern with Angel 45 - Scale 50 then put white in your background box.
Now we'll set up our palette for the next part - in your palette change the foreground to pattern and choose from the drop down list the KittyPattern with Angel 45 - Scale 50 then put white in your background box.
Add a new raster layer and move below the background layer - right click to flood fill it with white.
Grab your magic wand and click inside the gold border of your background layer.
Hit delete key once.
Fill the deleted area with your KittyPattern with opacity at 40.
Fill the deleted area with your KittyPattern with opacity at 40.
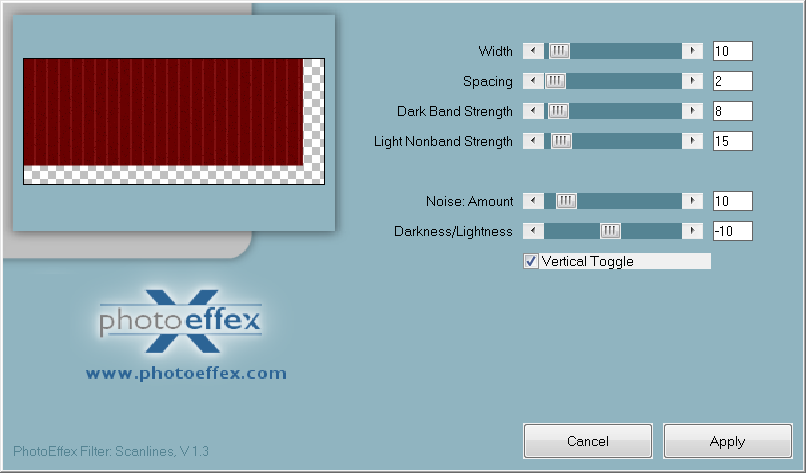
Selections - Invert - Promote Selection to Layer - Selections - Select None. On promoted layer add PhotoEffex-Scanlines with these settings:
Add drop shadow V/H 4, Opacity 50, Blur 5, black.
Close off tube layer - Merge all layers visible.
Open tube layer - duplicate then flip it. Move copy below original tube layer and position how you like in the upper right corner. I moved it so the red ball ornament was showing in the upper corner.
On original tube layer - Selections - Select All - Float - Defloat - Selections Invert.
Erase away the white bits that are showing on the duplicated layer. We only want to see the holly leaves and ornament in the top corner.
Lower opacity to 85 on duplicate tube layer.
Add drop shadow to both tube layers - V/H 4, Opacity 25, Blur 5
Merge all layers visible.
Add new raster layer and flood fill with your dark color - I used the same red as before.
Add noise Gaussian - 30 percent - monochrome.
Selections - Select All - Selections - Modify - Contract by 5
Hit delete key once. Select None. Add drop shadow V/H 4, Opacity 25, Blur 5
I added a little snowflake for embellishment (you can add whatever you wish),
Add © copyright info and your license number. Merge all visible.
Add any wording & name.
To make the avatar:
Duplicate your main tag and use the copy to make your avatar.
Crop the portion of the tube you want to use as the avatar - crop size 150 x 150.
When satisfied with your cropping, add a new layer and flood fill with dark color, Select All - Modify-Contract by 2. Hit delete key once and add the same noise and drop shadow as we did for the main tag. I add a little snowflake to it.
Add copyright info and license number.
Add copyright info and license number.
Add initial and merge all visible.
That's it - you're all done!
Here is a beautiful example by my dear friend Mags.
♥Thank you for the beautiful set Mags♥


Hugs~Anna
1 comment:
Hi dear Anna, thanks for this awesome tut, we had a twist to make your tut as a birthday set, I do hope you like my set for you
I did some coloring with the ribbon on the cat and also coloring
the only 1 present that comes with the tube
The Avatar :
https://media.fotki.com/2v2utw52GxwDe7d.jpg
And the banner :
https://media.fotki.com/2v2utw5oWxwDe7d.jpg
Hugs , Betsy E.
Post a Comment